Layers of Learning is a homeschool curriculum company devoted to creating family style courses in writing, history, geography, science, and arts.

We believe that mentors know their kids best and love them most, so we made this curriculum pick-and-choose. You direct the learning, we provide the ideas.

We believe learning should be hands on, fun, and memorable, so we made this curriculum activity based.

We believe families are happier and children learn more when they learn together, all ages, so we made this curriculum family style.
Layers of Learning Offers Courses In . . .
History
History proceeds chronologically and is divided into four big periods: ancient, middle ages, colonial, and modern.
Geography
Geography explores map skills and studies of continents and countries around the world including maps and cultures.
Science
Science is experiment based and divided into four subjects including earth & space, biology, chemistry, and physics.
Arts
Arts creates with poetry, painting, music, sculpture, folk art, and more. Kids learn about artists and practice creative skills.
Language Arts
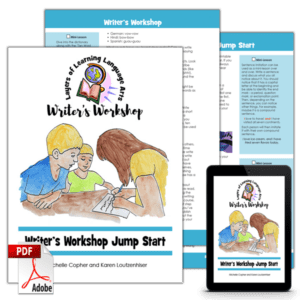
In Language Arts your kids will learn to love writing again with gentle and creative Writer's Workshop lessons.
Buy Year One
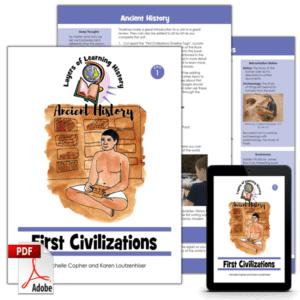
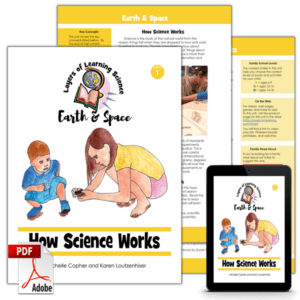
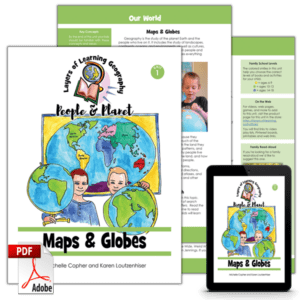
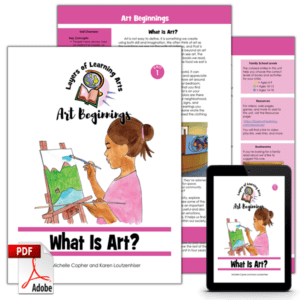
The first year, which you use with all of your children at once, includes Ancient History, People & Planet, Earth & Space, and Art Beginnings. Plus Writer's Workshop is used year after year with all ages as well. Most people will begin Layers of Learning on Year One with these five titles. Visit our catalog to check them out.


It's easy to use and tremendously flexible. Here's how each unit works:
Step 1
Library Research
Start with an expedition to your library to find great books. Use the lists provided in each unit book for top titles. Then use the search terms to discover your own great finds.
Read, read, read!

Step 2
Explore
Next, explore what you've learned with hands on projects you select from among the many choices in each unit. The whole family can dig into the learning together.

Step 3
Show What You Know
Finish up by completing a writing assignment, game, quiz, or activity. Each unit gives lots of ideas for fun activities for your family group or individuals to display their prowess.

Awww . . . We're Blushing!
 We are not new to homeschooling and so have tried a lot of curriculums and I’ve never been overly excited about any. Many have worked but not really stood out for any major reasons. Yours just hits so many major wishes and then just keeps on delivering. I am just a little awe struck.
-Joy
 One of the greatest assets of this curriculum is that it can be used simultaneously with multiple ages. Each unit is meant to be used over a two week period, but believe me, there are so many activities, you probably won’t be able to get to them all!
-Kyra
 Yesterday my 12-year-old son said (completely unprompted, out of the blue) “Mama, I just love how we are doing school this year. I love that we are all together. And I feel like we are learning so much!” I couldn’t agree more. I feel like we’ve finally found our long-lost curriculum! ❤
-Lynna
Pick a Subject, or Grab Them All
These are the first units, each intended for a month of learning, in each of the Layers of Learning subjects. Each of these units is the first "chapter" in their respective courses. First Civilizations is the first unit inside the Ancient History course, and so on. Each unit can be purchased separately or you can buy the entire course at once.
Units at a Glance
The Units at a Glance shows all of the unit titles in each History, Geography, Science, and Arts course in the Layers of Learning curriculum. In addition you can see the subheadings, the focus, of each unit.
Note that in Year Four you can choose between Modern World History and American History and between People & Place and U.S. States Geography.


Take the Plunge!
Get samples of history, geography, science, and arts free when you sign up for the Layers of Learning newsletter.
You can always unsubscribe whenever you want.
Layers of Learning is affordable
- One reusable unit book for all ages of your children
- Printables included
- Units mix and match, each standing alone, so buy just what you need
- Buy units one by one, month by month (Or buy an entire course for a discount)
- No lists of supplemental books to buy
- Most explorations require only household items or inexpensive craft supplies
Layers of Learning is flexible
- Use the units in any order you like
- Pick your own books and videos
- Pick your own activities
- Pick your own pace
Layers of Learning is made for families
- All ages learn and work together
- Expeditions you can all go on as a family
- Read-aloud book recommendations for everyone to enjoy together
- Lots of opportunities to cheer and encourage one another